I realize if you are much busier than me (work full-time, have more kids, etc.) that this seems like a pretty frivolous way to spend my time. I get that. If I was still working there is a good chance these would never happen (seeing as they didn't in the 7 years I lived here, working, before Luke). BUT...I spend a lot of time at home these days (although lately it doesn't feel like much!) and I enjoy doing what little, free, things I can to fix it up. Plus, the motivation to purge more things is always wonderful. Our last garage sale was just a few weeks ago and I already have a new box going.
The longest part of this project may have been scraping off all the old contact paper. When working on this cabinet I found some evidence of a layer on contact paper on top of this yellow one. I still think this lovely yellow speckle is from the 50s/60s just because of it's look. No matter what, it's been on there a few decades.
 |
| Please excuse the shadow of my arm. It's very hard to avoid in our kitchen. |
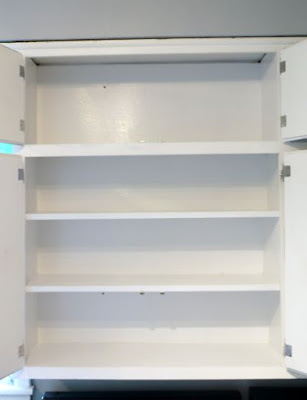
Another coat of primer, 2 more coats of paint, and a few days later and we were left with this:
It's always so exciting to see this come together and see what a difference the hours made. Painting was about 30 minutes a coat and then my favorite part: relining the shelves and putting things back. Even if I remember where everything was, I try to rethink where things should go based on how often they are used (and a little about how they will look). The Pyrex we use most often is on the bottom, the serving dishes we use less are at the top.
 |
| Scored this vintage pyrex from my Mom during our garage sale. I haven't used it yet but even just the look of it is great. |
 |
| Somewhat shocking to have a popsicle mold not in use. We've made A LOT of popsicles this summer. |
What's the take away from this posts other than "look at what I did!"? I'm motivated by seeing a good before and after and that is what keeps me going on this little (but big change!) projects. I also cannot believe that, no matter how many times I go through a cupboard, there is something about emptying it out, getting it all fresh and white, and having to put things back that majorly inspires some purging. Things that were ok to sit in a dark cabinet somehow don't fit in the pretty white ones. Try it. It works.
And a good before and after. I'm still amazed every time I open the done cabinets. Then I open the undone ones and am extra motivated to get to them!


No comments:
Post a Comment